
As an Amazon Associate, I may earn a commission from qualifying purchases. Please note that you are never charged any extra for that.
Growing okra is easier than you might think. This guide will show you how.
Okra is a warm-season vegetable. It’s known for its edible green pods and unique taste. This vegetable thrives in hot climates and is a staple in many cuisines. Learning how to grow okra can be rewarding. You can enjoy fresh, home-grown pods in your meals.
Whether you have a backyard garden or a small plot, okra can be a great addition. You will need to know about soil preparation, planting techniques, and care tips. This blog will walk you through each step. Ready to start your okra-growing journey? Let’s dive in!
Table of Contents
Introduction To Okra
Okra, also known as lady’s finger, is a popular vegetable. It is favored in many cuisines worldwide. Growing okra in your garden can be a rewarding experience. This blog post will guide you through the basics of okra cultivation.
What Is Okra?
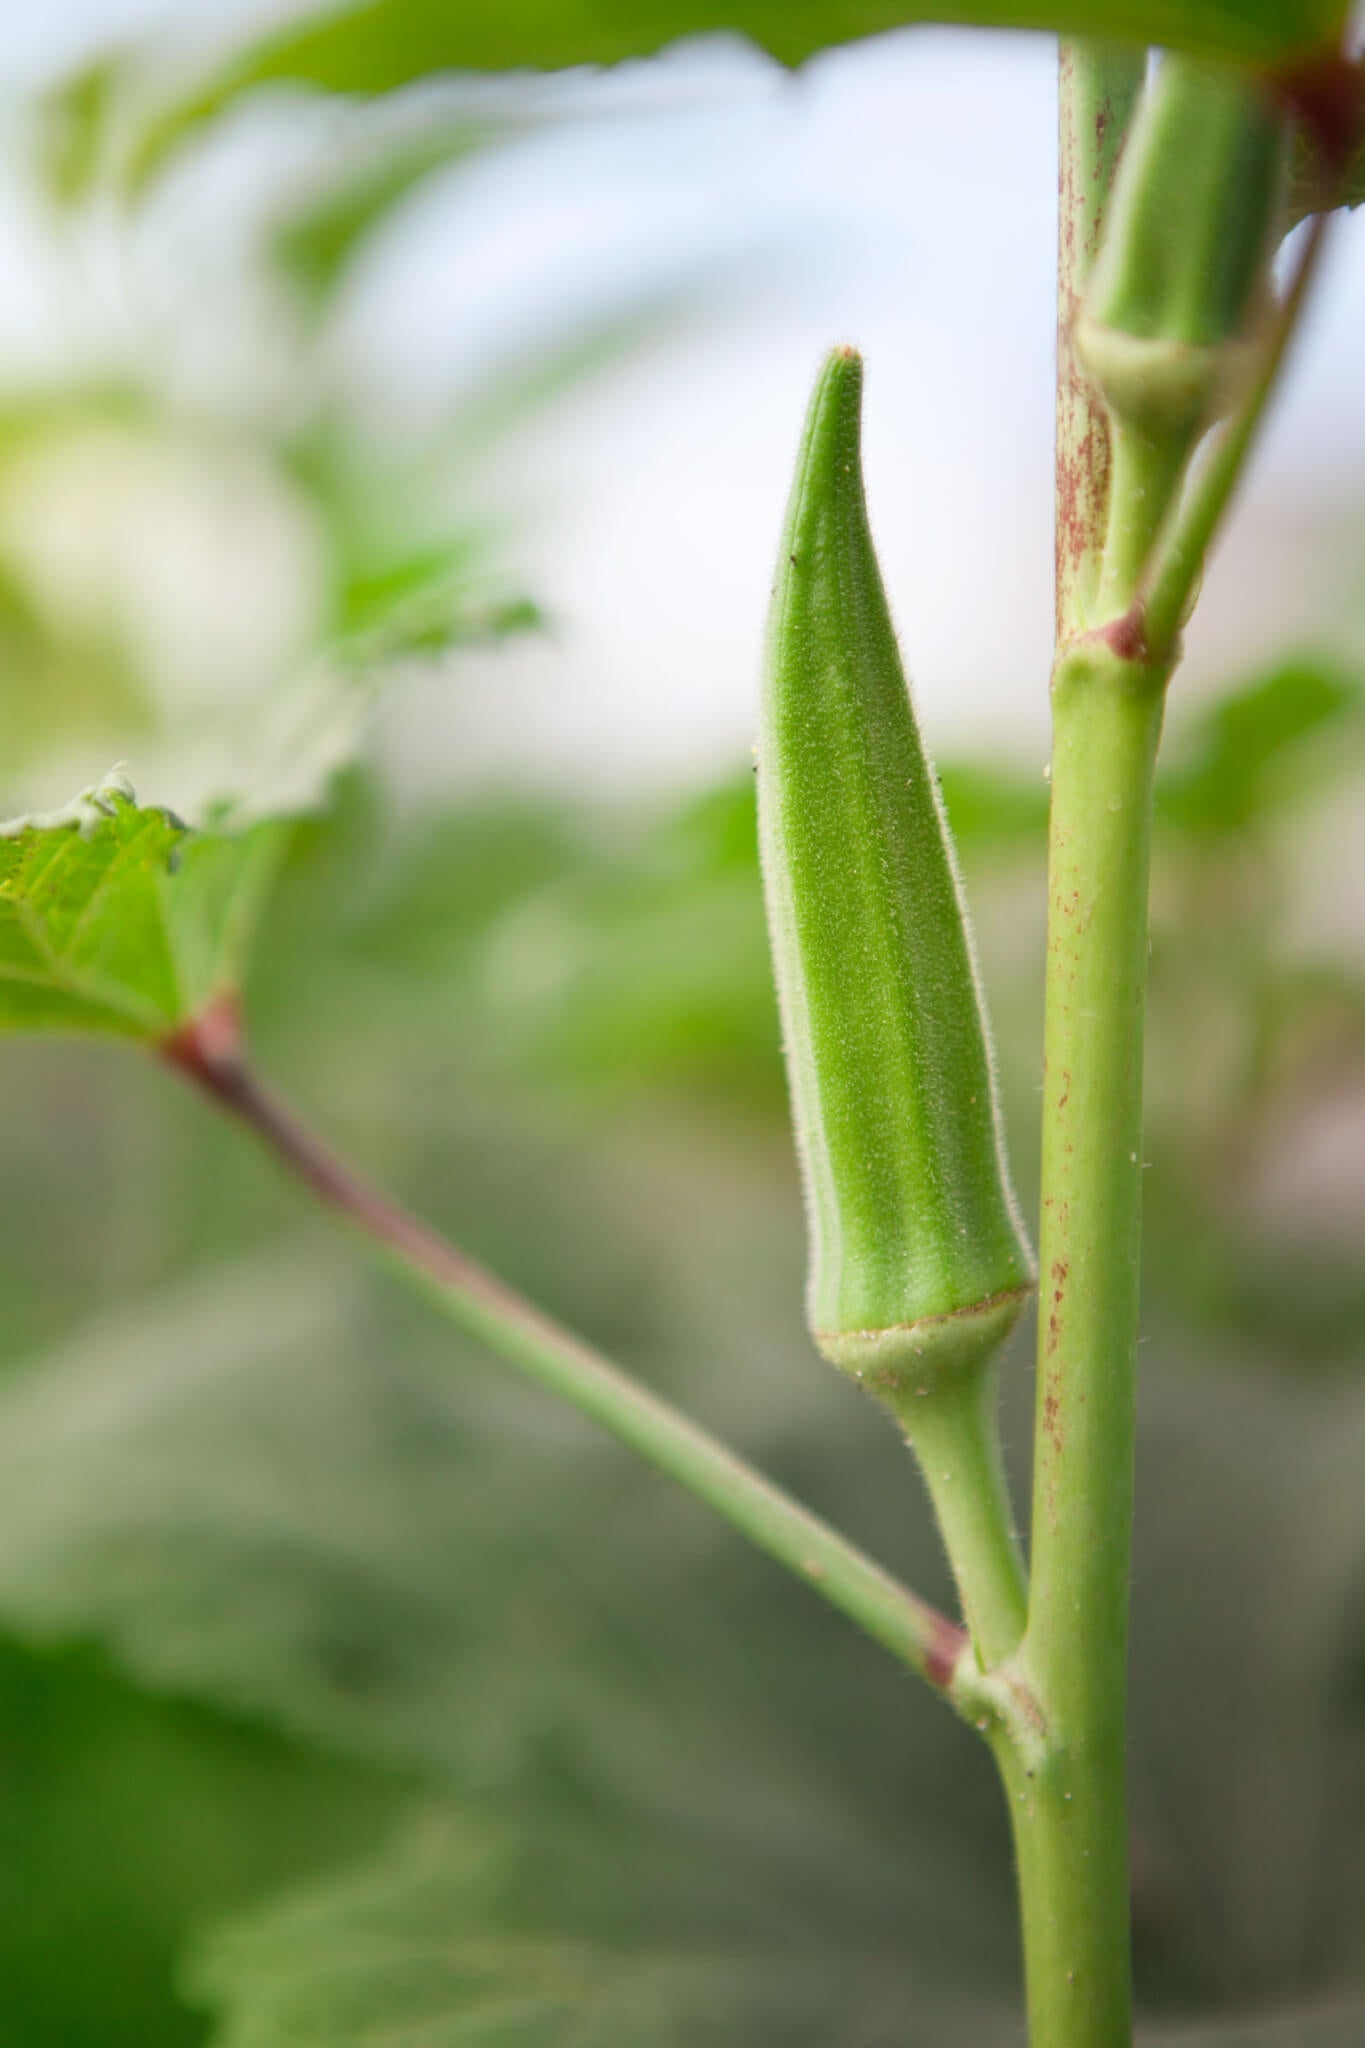
Okra is a flowering plant in the mallow family. Its scientific name is Abelmoschus esculentus. The plant produces long, green pods. These pods are harvested when they are young and tender. Okra is used in a variety of dishes such as soups, stews, and stir-fries.
Benefits Of Growing Okra
There are many benefits to growing okra in your garden:
- High Nutritional Value: Okra is rich in vitamins A, C, and K. It also contains fiber and folate.
- Easy to Grow: Okra is a hardy plant. It is resistant to many pests and diseases.
- Heat Tolerant: Okra thrives in hot weather. This makes it an ideal crop for summer.
- Versatile Use: Okra can be used in various recipes. It adds flavor and nutrition to your meals.
By growing okra, you can enjoy fresh, organic produce. You also reduce your grocery bills. Plus, gardening is a great way to stay active and enjoy the outdoors.

Credit: journeywithjill.net
Choosing The Right Variety
Selecting the right okra variety is crucial for successful growth. Choose types suited to your climate and soil. Different varieties offer unique flavors and textures.
Growing okra can be rewarding. The key is picking the right variety. Different varieties offer unique flavors, sizes, and growing conditions. Knowing which one suits your garden is crucial.
Popular Okra Varieties
Many okra varieties are popular among gardeners. Clemson Spineless is a favorite. It produces tender, spineless pods. Another variety is Burgundy. Its deep red pods add color to dishes. Annie Oakley II is compact, great for small spaces.
Factors To Consider
Several factors help in choosing the right okra variety. Climate is important. Some varieties thrive in heat, while others tolerate cooler weather. Garden space matters too. Some plants grow tall, needing more room. Yield is another consideration. High-yield varieties can provide more pods per plant. Check the maturity time. Some okra varieties mature faster than others. This can be crucial if you have a shorter growing season. Taste and texture preferences also play a role. Some people prefer the flavor of certain varieties. Lastly, consider disease resistance. Some varieties resist common diseases better. This can result in healthier plants and better yields. “`
Preparing The Soil
Growing okra starts with preparing the soil. Healthy soil ensures strong plants and a good harvest. This guide will cover soil requirements and soil preparation tips for growing okra.
Soil Requirements
Okra thrives in well-drained soil with a pH between 6.0 and 6.8. The soil should be rich in organic matter. It should also have good moisture retention.
| Soil Type | pH Level | Requirements |
|---|---|---|
| Well-drained | 6.0 – 6.8 | Rich in organic matter |
Ensure the soil is not too clayey. Sandy loam soil works best for okra.
Soil Preparation Tips
Follow these tips to prepare your soil for planting okra:
- Test the soil pH: Use a soil test kit to check the pH level.
- Add compost: Mix in compost to improve soil fertility.
- Remove weeds: Clear the area of weeds and debris.
- Loosen the soil: Till the soil to a depth of 12 inches.
- Ensure good drainage: Create raised beds if necessary.
Proper soil preparation is key for a healthy okra crop. Spend time on this step for better results.
Planting Okra Seeds
Growing okra in your garden can be a rewarding experience. Okra is a warm-season vegetable that thrives in hot weather. Planting okra seeds is the first step towards enjoying fresh okra pods. This section will guide you through the process of planting okra seeds, ensuring a successful harvest.
When To Plant
Okra grows best in warm temperatures. You should plant okra seeds in the spring, after the last frost. The soil temperature should be at least 65°F (18°C) for optimal germination. In regions with shorter growing seasons, you can start seeds indoors 3-4 weeks before the last frost date.
Seed Planting Techniques
To plant okra seeds, follow these steps:
- Prepare the soil: Okra thrives in well-drained, fertile soil with a pH of 6.5-7.5. Add compost or aged manure to improve soil quality.
- Soak the seeds: Soak okra seeds in water for 12-24 hours before planting. This helps soften the seed coat and speeds up germination.
- Plant the seeds: Sow seeds 1 inch deep and 12-18 inches apart in rows. Space rows 3 feet apart to allow for growth.
- Water regularly: Keep the soil moist but not waterlogged. Water the seeds gently after planting.
- Thin seedlings: When seedlings are 3 inches tall, thin them to 12-18 inches apart. This ensures each plant has enough space to grow.
Proper spacing and watering are crucial for healthy okra plants. Follow these seed planting techniques to give your okra the best start.
Caring For Okra Plants
Okra plants are relatively easy to grow. They need some basic care to thrive. Understanding how to properly care for them ensures a healthy and productive garden. Let’s look at the essential aspects of caring for okra plants.
Watering Needs
Okra plants need consistent watering. They thrive best in well-drained soil. Water your okra plants deeply once a week. Ensure the soil is moist but not waterlogged. During hot weather, increase the watering frequency. Use a soaker hose or drip irrigation for best results.
- Water deeply once a week.
- Keep soil moist, not waterlogged.
- Increase watering in hot weather.
- Use soaker hose or drip irrigation.
Fertilizing Tips
Fertilizing your okra plants boosts their growth. Use a balanced fertilizer to provide essential nutrients. Apply fertilizer when planting and then every 4-6 weeks. Avoid over-fertilizing as it can harm the plants.
| Fertilizing Schedule | Action |
|---|---|
| At planting | Apply balanced fertilizer |
| Every 4-6 weeks | Reapply fertilizer |
Here are some tips for fertilizing:
- Use balanced fertilizer (e.g., 10-10-10).
- Follow the recommended application rate.
- Mix fertilizer into the soil.
- Water the plants after fertilizing.
By following these guidelines, you will provide your okra plants with the care they need to grow strong and healthy.
Credit: bonnieplants.com
Pest And Disease Control
Growing okra can be rewarding, but pests and diseases can cause problems. Effective pest and disease control is important for a healthy okra crop. Here, we will cover common pests and ways to prevent diseases.
Common Pests
Okra plants can attract several pests. Knowing them helps in managing your garden.
- Aphids: Small insects that suck plant sap. They can cause yellowing leaves and stunt growth.
- Spider Mites: Tiny pests that create webs on leaves. They can cause leaf discoloration and drop.
- Caterpillars: They feed on okra leaves, creating holes and weakening plants.
- Flea Beetles: Small beetles that chew small, round holes in leaves.
To manage these pests, consider the following methods:
- Use insecticidal soap for aphids and spider mites.
- Handpick caterpillars and drop them in soapy water.
- Apply neem oil to control various pests.
- Introduce beneficial insects like ladybugs to eat aphids.
Disease Prevention
Diseases can also affect okra plants. Prevention is key to maintaining plant health.
Common okra diseases include:
- Fusarium Wilt: A fungal disease causing wilting and yellowing of leaves.
- Powdery Mildew: A fungal disease that creates white, powdery spots on leaves.
- Root Rot: A disease caused by overwatering, leading to decayed roots.
To prevent these diseases, follow these tips:
- Plant disease-resistant okra varieties.
- Ensure proper spacing for good air circulation.
- Water plants at the base to keep leaves dry.
- Remove and destroy infected plants immediately.
- Rotate crops to prevent soil-borne diseases.
By following these pest and disease control methods, your okra plants will thrive.
Harvesting Okra
Harvesting okra is a crucial step in growing this delicious vegetable. Timely and proper harvesting ensures the best taste and texture. Let’s dive into the specifics of harvesting okra with easy-to-follow guidelines.
When To Harvest
Okra pods should be harvested when they are young and tender. Typically, pods are ready for harvest about 3-4 days after the flowers bloom. Aim to pick okra pods when they are 2-3 inches long. Longer pods may become tough and fibrous.
Check your okra plants daily during the growing season. Pods grow quickly and can become overripe in just a day or two. Consistent harvesting encourages the plant to produce more pods.
How To Harvest
To harvest okra, use a sharp knife or garden shears. Cut the pods cleanly from the stem. Be careful not to damage the plant while cutting. Wear gloves and long sleeves to protect yourself from the plant’s tiny spines.
Place the harvested okra in a basket or container. Avoid leaving harvested okra in direct sunlight for long periods. Store the pods in a cool place if you are not using them immediately.
Storing And Using Okra
Storing and using okra is essential for enjoying this versatile vegetable year-round. Proper storage ensures freshness and extends the shelf life of your harvest. In addition, knowing how to use okra in the kitchen can bring variety to your meals. Let’s explore the best storage methods and culinary uses for okra.
Storage Methods
Fresh okra can be stored in the refrigerator. Place unwashed okra pods in a paper bag or wrap them in a paper towel. Store the wrapped pods in a perforated plastic bag. The pods will stay fresh for up to four days.
For longer storage, freeze okra. First, wash and trim the okra. Blanch the pods in boiling water for three minutes. Then, plunge them into ice water to stop the cooking process. Drain and dry the pods thoroughly before placing them in airtight freezer bags. Frozen okra can last up to a year.
Culinary Uses
Okra is a versatile vegetable in the kitchen. It can be fried, boiled, grilled, or pickled. Fried okra is a popular Southern dish. Coat the pods in cornmeal and fry until golden.
Boiled okra is perfect for soups and stews. The vegetable’s mucilage thickens the broth, adding a unique texture. Grilled okra is a healthy option. Brush the pods with olive oil, season with salt, and grill until tender.
Pickled okra makes a tangy snack. Pack fresh pods into jars with vinegar, water, and spices. Let the jars sit for at least a week before enjoying. Okra can also be added to salads, casseroles, and stir-fries, making it a versatile ingredient in many dishes.

Credit: bonnieplants.com
Frequently Asked Questions
What Is The Best Time To Plant Okra?
The best time to plant okra is in the spring. Ensure the soil temperature is above 65°F for optimal growth.
How Often Should I Water Okra Plants?
Water okra plants at least once a week. Ensure the soil is consistently moist, especially during dry spells.
Can Okra Be Grown In Containers?
Yes, okra can be grown in containers. Choose a container that is at least 12 inches deep and wide.
How Long Does It Take For Okra To Grow?
Okra typically takes about 50 to 65 days to mature. Harvest the pods when they are 2-4 inches long.
Conclusion
Growing okra can be fun and rewarding. Follow these steps for success. Start with good soil and ample sunlight. Water regularly but avoid overwatering. Harvest when pods are tender. Enjoy fresh, homegrown okra in your meals. With patience and care, you’ll enjoy a bountiful harvest.
Happy gardening!